
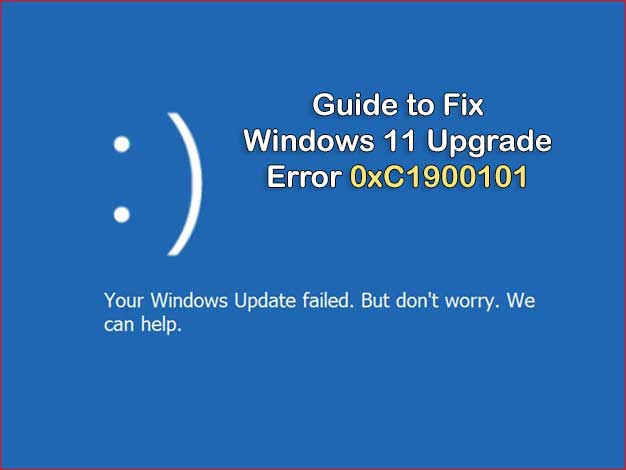
Upgrading to a new operating system can bring exciting features and improvements. However, encountering errors during the upgrade process can be frustrating. One such error that Windows 11 users may come across is error code 0xC1900101. This error typically indicates a compatibility issue or a problem during the installation process. In this article, we will explore various troubleshooting steps to help you resolve the Windows 11 upgrade error 0xC1900101 and successfully upgrade to the latest operating system.
Below are certain methods that will help you fix your problem.
Method 1: Try DriverEasy to Fix the problem.
The DriverEasy Driver Repair Tool is specially designed for fixing driver-related issues in Windows-based operating systems. This tool contains more than 18 million driver files to download and fix your problem.
 3 Steps to Fix this Error
Step 1. Download DriverEasy - Driver Repair Tool
[Trusted by 50 Millions+ Download] | Windows 11/10/8 Supported
1 PC3 PC - $29.95 Offer
Step 2. SCAN your Windows PC
Step 3. Update all your missing, outdated or damaged drivers.
 Over 18 Million Drivers Available to Download.
- Install, Scan and Update all your drivers.
-
Supports Windows 11, 10, 8, 8.1, 7 & Windows Server.
-
Uses Advanced Hardware-matching technology to detect all your connected hardware and devices.


Method 2: Verify System Requirements
Before proceeding with the upgrade, it is crucial to ensure that your computer meets the minimum system requirements for Windows 11. Check the official Windows 11 documentation or Microsoft’s website to confirm that your hardware is compatible. Pay attention to specifications such as processor, RAM, storage, and TPM version.
Method 3: Update Device Drivers
Outdated or incompatible device drivers can often cause upgrade errors. Visit your computer manufacturer’s website or the hardware component manufacturer’s website and download the latest drivers for your system. Focus on drivers for graphics cards, network adapters, and chipset drivers. Updating these drivers can resolve compatibility issues and improve the upgrade process.
Method 4: Disconnect Non-Essential Devices
Disconnect any non-essential external devices, such as printers, scanners, external hard drives, or USB devices, before starting the upgrade. Sometimes, incompatible or faulty devices can interfere with the installation process. By removing these devices temporarily, you can eliminate potential conflicts.
Method 5: Disable Antivirus Software
Third-party antivirus or security software may interfere with the upgrade process. Temporarily disable such software before starting the Windows 11 installation and re-enable it afterward. This step can help eliminate any conflicts caused by overprotective security applications.
Method 6: Free Up Disk Space
Ensure that you have sufficient free disk space for the Windows 11 upgrade. Delete unnecessary files, uninstall unused applications, and clear temporary files using tools like Disk Cleanup. A lack of disk space can impede the installation process, leading to error code 0xC1900101.
Method 7: Check for System File Errors
Corrupted or missing system files can cause various errors during the upgrade process. To address this, run the System File Checker (SFC) and Deployment Imaging and Servicing Management (DISM) tools. Open Command Prompt as an administrator and enter the following commands:
sfc /scannowdism /online /cleanup-image /restorehealth
These commands will scan for and repair any corrupted system files. Afterward, restart your computer and attempt the Windows 11 upgrade again.
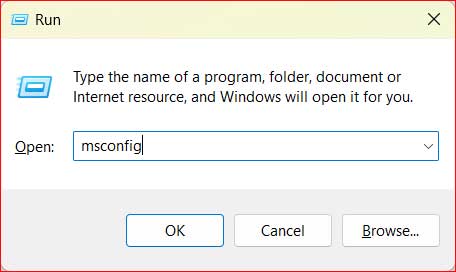
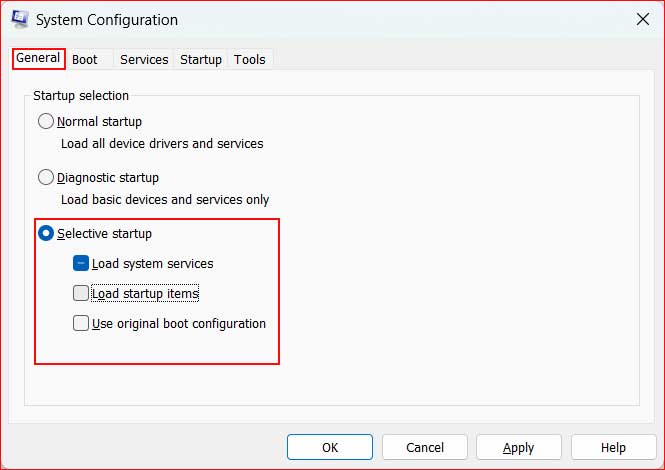
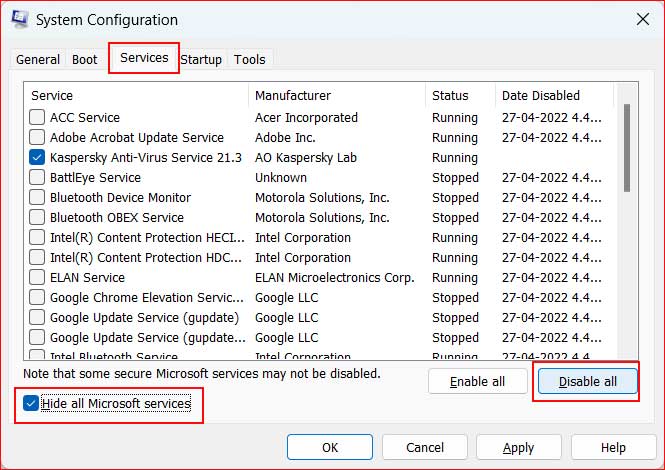
Method 8: Perform a Clean Boot
Performing a clean boot helps identify conflicts caused by third-party software and services. To do this:
Method 9: Contact Microsoft Support
If all else fails, and you’re unable to resolve the error code 0xC1900101, it is advisable to reach out to Microsoft Support for further assistance. Their technical experts can provide personalized guidance and help troubleshoot your specific situation.
Summary
Encountering the Windows 11 upgrade error 0xC1900101 can be frustrating, but with the right troubleshooting